
This
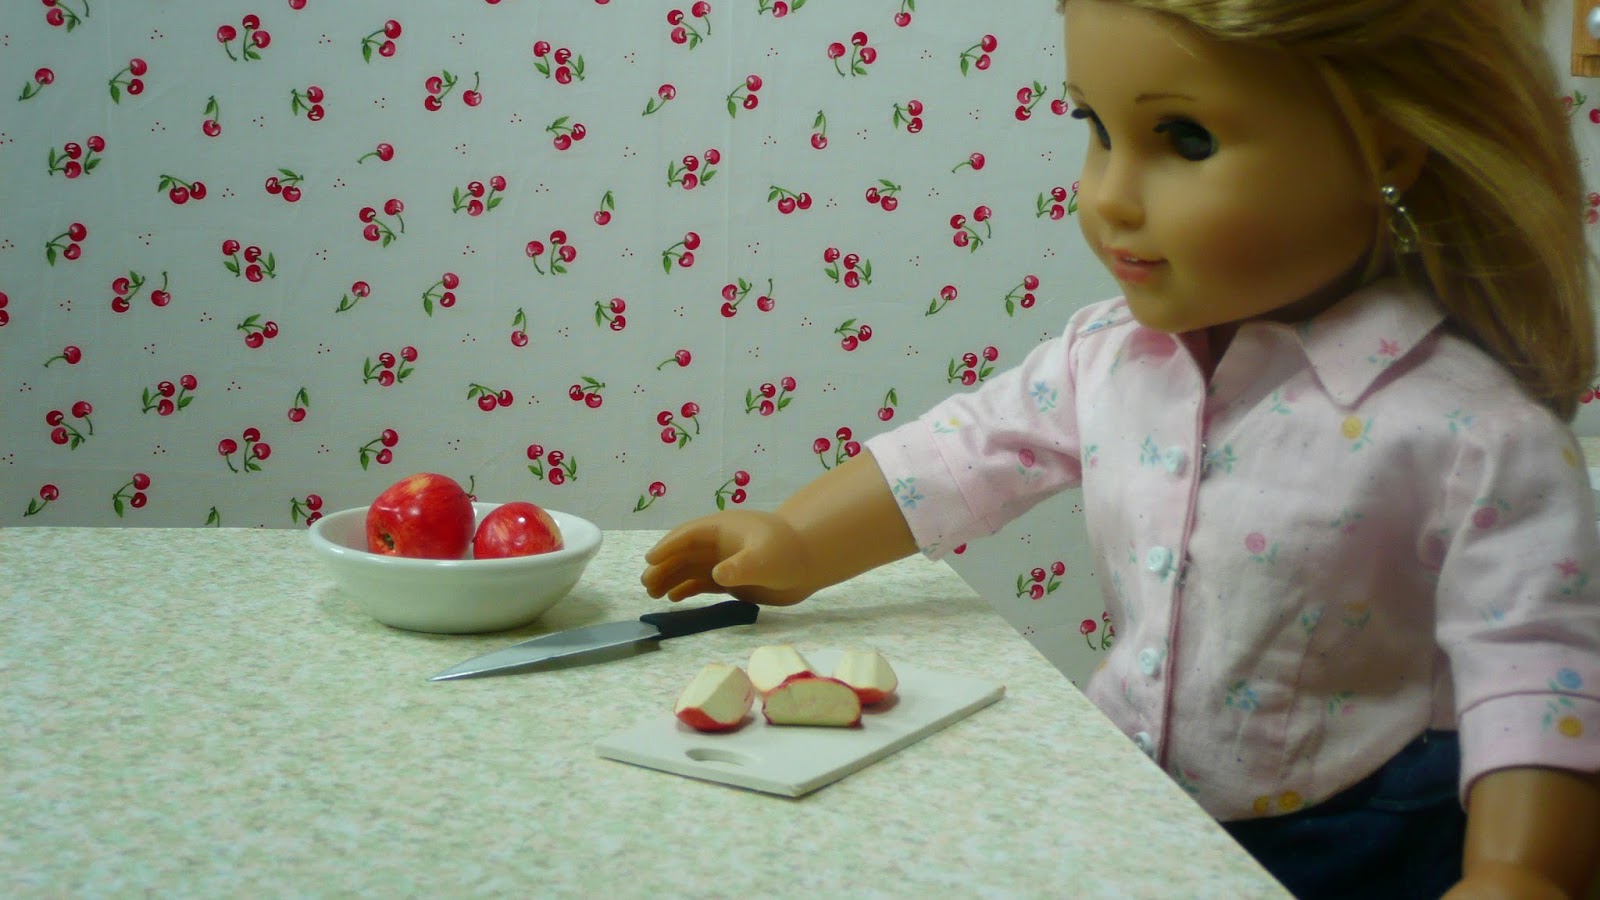
week we are going to make some apples. In the video I show you how to
make both a whole apple and one cut into wedges. This really isn't as
difficult as you might think. I take you step by step through the
process.
I
really do encourage you to have an apple right on the table near
where you are working so you can refer to it as you make your doll
size apples. I will repeat this instruction with a lot of the foods
that I have you make. I know we have all looked at a bunch of apples
in our lives but I still like the have the real thing there to be my
model every time I make them in clay. I think the fact that we are
all very familiar with what apples look like it is even more
important to do this. We all know what they look like or more
importantly we all recognize when they look wrong. When was the last
time you actually LOOKED at an apple?
Today
I want you to hold that apple, turn it over in your hands. Observe
the color or more likely the colors. Look at how those colors blend.
What is the base color? My apple was really very yellow even though
it is a red apple. Next look at the size and shape. Take out a ruler
and measure it. You might even want to make a couple of quick
sketches to reinforce the shape and size in your mind.
Now
it is time to really clean your work surface. We are going to work
with white and translucent polymer clay and they both tend to pick up
every little bit of lint and dust that is in the air. I am pretty
sure these colors have hidden magnets that draw dust from the next
three or four rooms too.
Now
get out your clay. Are you surprised that I am using white and
translucent clay? If you are making the cut up version of the apple
you will also want a golden yellow color (or a green color depending
on your apple) to tone the whiteness of the clay down. If you are
only going to make whole apples you won't need the extra color.
Follow
the steps I used in the video to shape your apple and to color it.
Depending on what your apple looks like yours might be a slightly
different shape. Make as many as you want to. It is really fun.
The
layer of chalk for color is really important but it is only the base
of the colors. We want to layer our colors to get a more realistic
looking apple. If you were to try to do the color in one coat of
paint or use a colored clay you would end up with an apple that looks
cartoonish rather than realistic.
The
finish I used is Future floor wax for no-wax vinyl floors. My bottle
is about 10 (maybe more) years old so the label is way different now.
Here is a link to the manufacture's website so you will know what you are looking for. I love this for finishing some food items,
especially fruits and veggies. It gives a very subtle glow that
replicates the real thing. If you can't find this or don't want to
look for it use any polymer clay compatible satin finish. You want a
satin and not a gloss because that would not look real. Remember most
food is not glossy. (one of my pet peeves about many doll foods)
If
you want to make the cut version of the apples I do recommend putting
your apple in the freezer for about 15 minutes, not much more than
that though. This allows the clay to become firm enough that when you
slice it you don't distort the shape nearly as much as you might with
warm clay.
See
that really was easy wasn't it?
No comments:
Post a Comment