This
week we are going to make the dolls some nice plates so they have
some place to put that food we have been making them. I actually
started working on these just after I posted the tutorial for the
mugs.
The
first step in making these for me was to figure out what to use for a
form to make them on. So let's discuss forms vs molds and why we use
them.
For
me (in other words on this blog and on my videos) I use the words
form and mold to mean slightly different things. For me a mold is
something that I put the clay (or other material) into to create my
finished item. The mold is usually (but not always) made from a soft
silicone material that makes it easy to remove the finished item. I
may purchase the mold or I might make my own. (tutorial on that
coming soon) A form (as I use the term is an object that I form clay
around or put clay on top of to hold a shape to create a finished
item.
When
we made the cupcakes and the gummy bears we used purchased molds.
When I made the mugs I created the form out of a piece of wooden
dowel.
On
a later post we will get into the details of the how to make molds.
For
now let's talk about why we might use a form or a mold to create
something for the dolls. Usually it is either to make something that
would be complicated to do free hand and/or to allow us to make
multiples of the same item and have them look alike. For instance if
we make say a bunch of apples they don't have to all be exactly the
same because real ones aren't all exactly the same. In fact it would
look odd if they all were the same. However, if we made a set of
plates and every one of them was shaped different or a different size
that would look odd. This is how the form will come in handy.
I
first debated between making a mold or using a form for the plates. I
could have made up one plate and used it to make a mold from. This is
the way I commonly do this in dollhouse scale. There are two problems
with that for the 18” doll size- one it would take a lot of my mold
making material to make that size mold (gets expensive) and second I
wanted all of you to be able to make the same plate just as easily as
I do. On this blog/channel I am trying to make sure even those of you
that don't have much experience with clay can succeed in making the
projects. So I starting looking for something that would be easy to
find and inexpensive to use. It had to be the correct shape and size.
Since
we are making plates and most plates in the real world are between 9”
and 10” (or 10 ½”) that meant our form needed to make a plate
that is approximately 3”.
In
looking around for ideas I came up with the idea of using a wide
mouth canning jar lid. They already have the perfect shape, they are
the correct size (3 ¼”), easy to find and inexpensive. They are
also designed to go in boiling water water so the heat of the oven
curing the clay won't hurt them.
Next
it was a pretty simple process to work out the particulars of the
project. Choose the clay, adding some translucent to the mix is
optional depending on the look you are after. Roll it out to an
appropriate thickness, place it on the top of the lid, use the lid as
a guide to trim the clay and bake. If you want to get fancy you could
even add some details with more clay or clay tools before baking.
It
is up to you if you want to use colored clay or white. If you want to
paint details or not after baking. You have so many options and if
you are short on inspiration just look on line at images of real
plates online to see what is out there. If you are talented you could
even paint an intricate design on the plates.
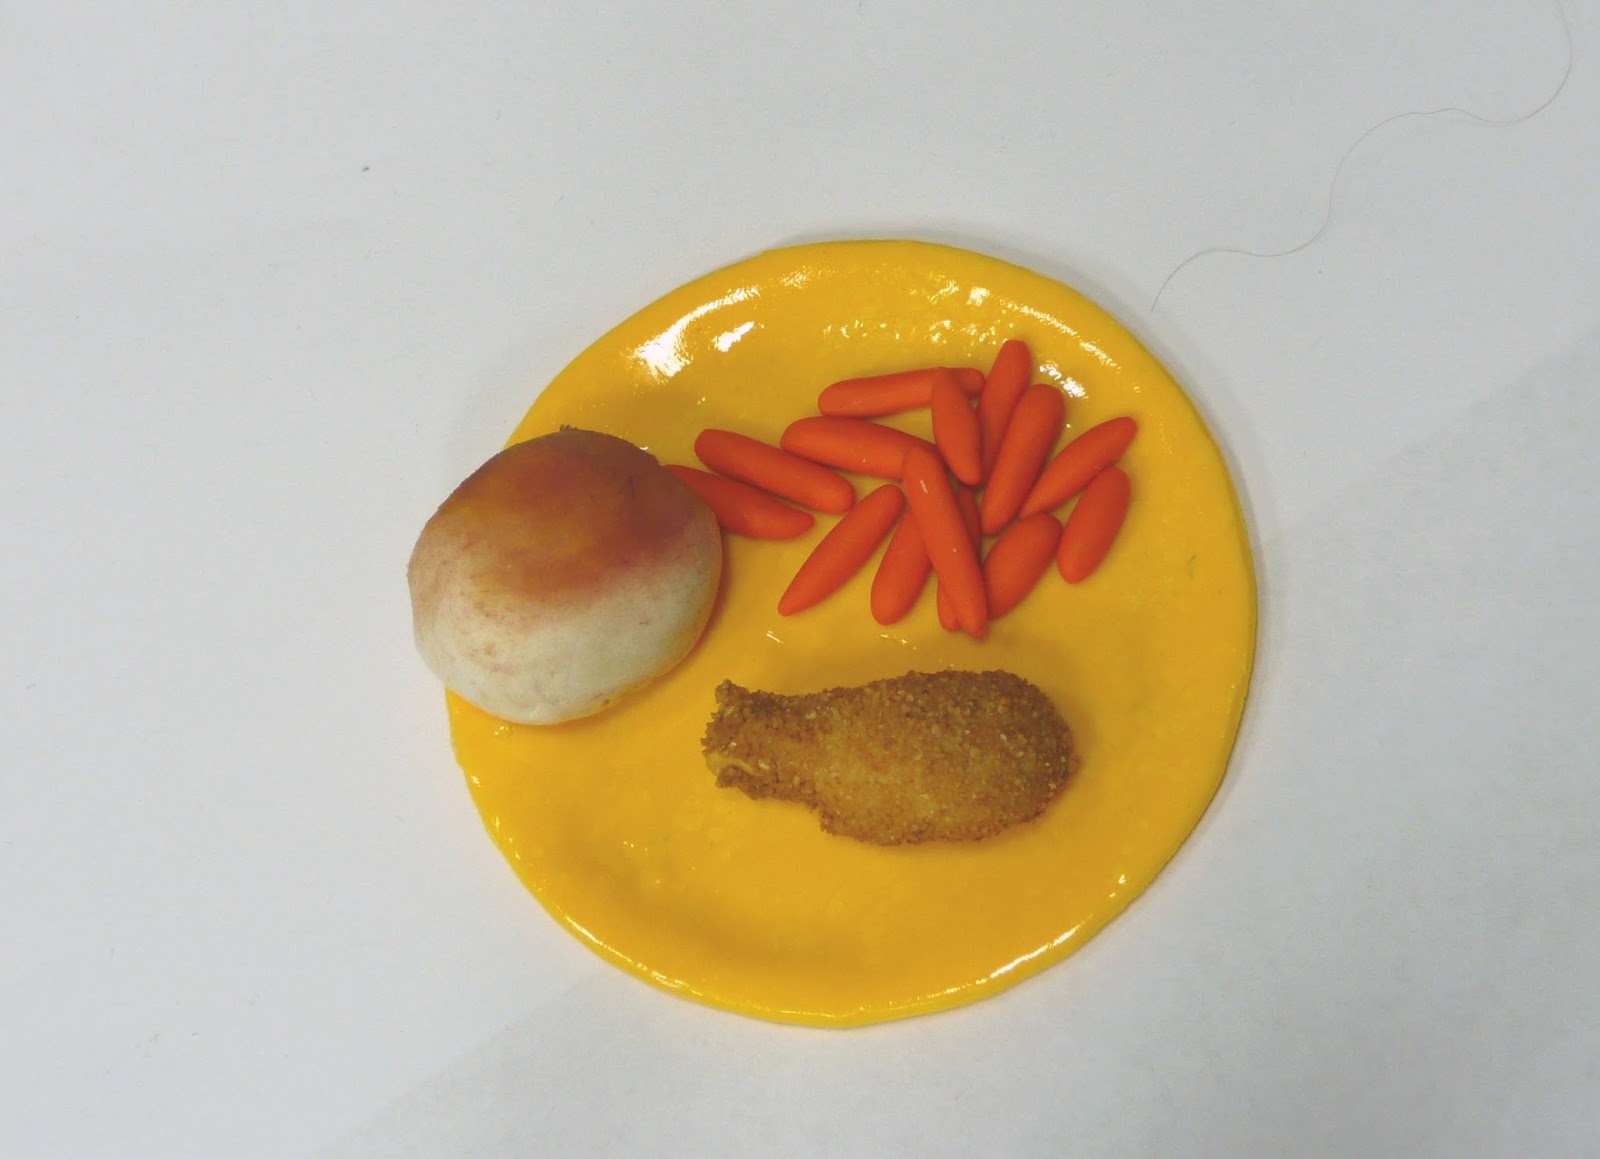
When
you are all done give them a good coat of a high gloss finish to make
them look like a real plate. My preference for this is Triple Thick
because it is high gloss and I usually only need one coat.
No comments:
Post a Comment