This
week I am going to show you how to create some wonderfully cute
cupcakes with the mold I got from Stewart Dollhouse Creations (click here for the website and here for a direct link to the mold I am using)

I
was so happy to find out that Ruth had added this mold to her line of
molds because I had been trying to come up with a mold on my own for
cupcakes for a while and wasn't having very much luck with it. I have
found that some foods, like cupcakes are just so much easier to make
with a mold. I have purchased several molds in the past from
different dealers and I have made a lot of my own over the years too.
This mold is actually dual purpose depending on which scale you work in. For our 18” dolls it is a cupcake (although a small one) and for 1/12th scale dollhouses it is one of those giant cupcake shaped cakes.
The
mold itself if made of a silicone so you can bake clay directly in
the mold if you desire. I do prefer to bake more than one at a time
so I pop mine out of the mold.
Just
like any other product or kit the first step should be to read the
directions and make sure you understand them. I do stray from the
directions on the video a tiny bit simply because I want my cupcakes
to have a slightly domed top just like the ones from my real kitchen.
In the directions you are told to cut off the clay even with the top
of the mold. It is a small difference and it is totally up to you
which way you do yours. The advantage of the cutting the top off is
you don't have fiddle around figuring out how big of a ball of clay
you need to make your cupcakes. I find after a couple of tries I was
able to judge the amount of clay I needed pretty easily.
After
the cupcakes are formed I like to texture the top gently with a
toothbrush. This makes them look a little more like a real cupcake,
I also used some golden yellow chalk to give the top edges a baked
look. I didn't add the chalk to the base since I wanted to color my
bases to look like they had cupcake wrappers on them.
As
for flavors I only made two this time: a white cake- made with Fimo
Vanilla and a chocolate made with Premo! Burnt Umber. You can of
course make yours any flavor you think your dolls would like. Just
look online if you are lacking ideas.
Since
these are rather thick they will need to bake for about 30 minutes.
Use the temperature listed on your clay packages.
After
baking allow your cupcakes to cool completely before the next steps.
Since
I wanted to paint on my paper cupcake liners that was my next step. I
just used some acrylic craft paint and a small stiff flat brush. Just
go slow and you will be fine. It might take a few coats to cover the
clay color especially on the chocolate ones.
Next
we get to frost and decorate them! Again if you are lacking for ideas
just look online at photos of real cupcakes. There are so many ideas
out there since cupcakes are so popular right now.
I
used my favorite frosting on the video- caulking from the hardware
store. I always get the kind that can be painted in case I want to
color the frosting for some projects.
To
color the frosting just add in a small amount of acrylic paint, I
used the kind in the small tubes this time and it works so much
better than the craft paint I have used in the past. Just be warned
it just takes a tiny bit.
To
apply the caulking you can either spread it on (I like to use a
toothpick) or you can pipe it on. If you are piping on the white
caulking you can just tape the decorating tip directly onto the tube.
If you want to pipe out the caulking you have colored just make use a
small plastic bag just like you would for real frosting.
To
further decorate our cupcakes we can add several types of sprinkles.
The tiny micro marbles (also sometime called no hole beads) are
really cute and can be found in the craft store. You can also use a
tiny hole punch (1/16th “) to punch out multiple colors
of colored cardstock. This is also cute for holidays if you have tiny
hole punches in different shapes.
If
you want to have the look of decorator sugar use some fine glitter or
some sand. The glitter looks more real in this scale but use which
ever you have.
You
can also add swirls of chocolate or other “syrups” by using some
of the Scribbles 3-D fabric paints in the appropriate colors.
These
are just so fun and somewhat addictive to both make and decorate.
Here
are close ups of the different cupcakes I made this week. I would
love to see what you do be sure to send me a photo if you make some
cupcakes.
 |
| pink frosting with pink glitter |
 |
| chocolate frosting with paper sprinkles and white glitter |
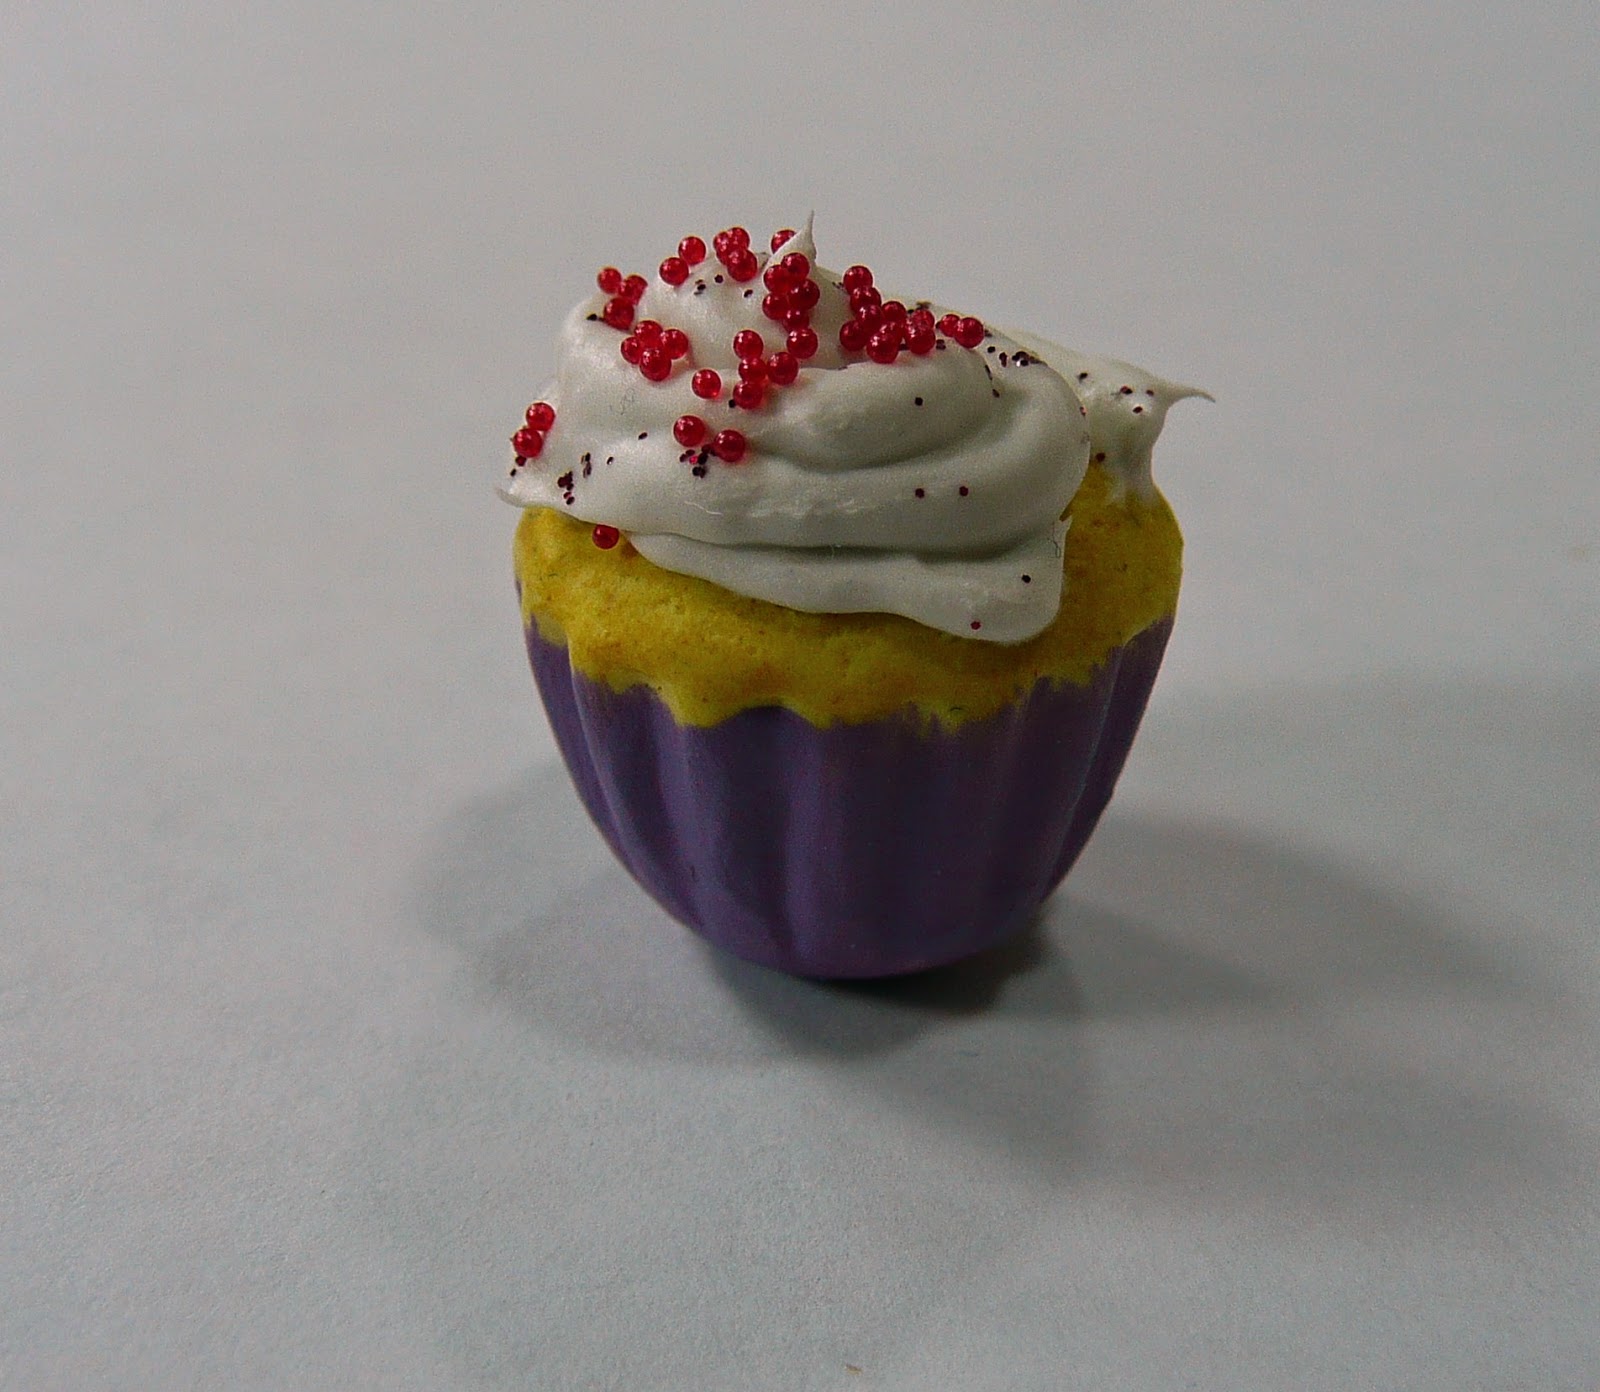 |
| white frosting (piped with a #5 tip) paper sprinkles, red microbeads, and red glitter |
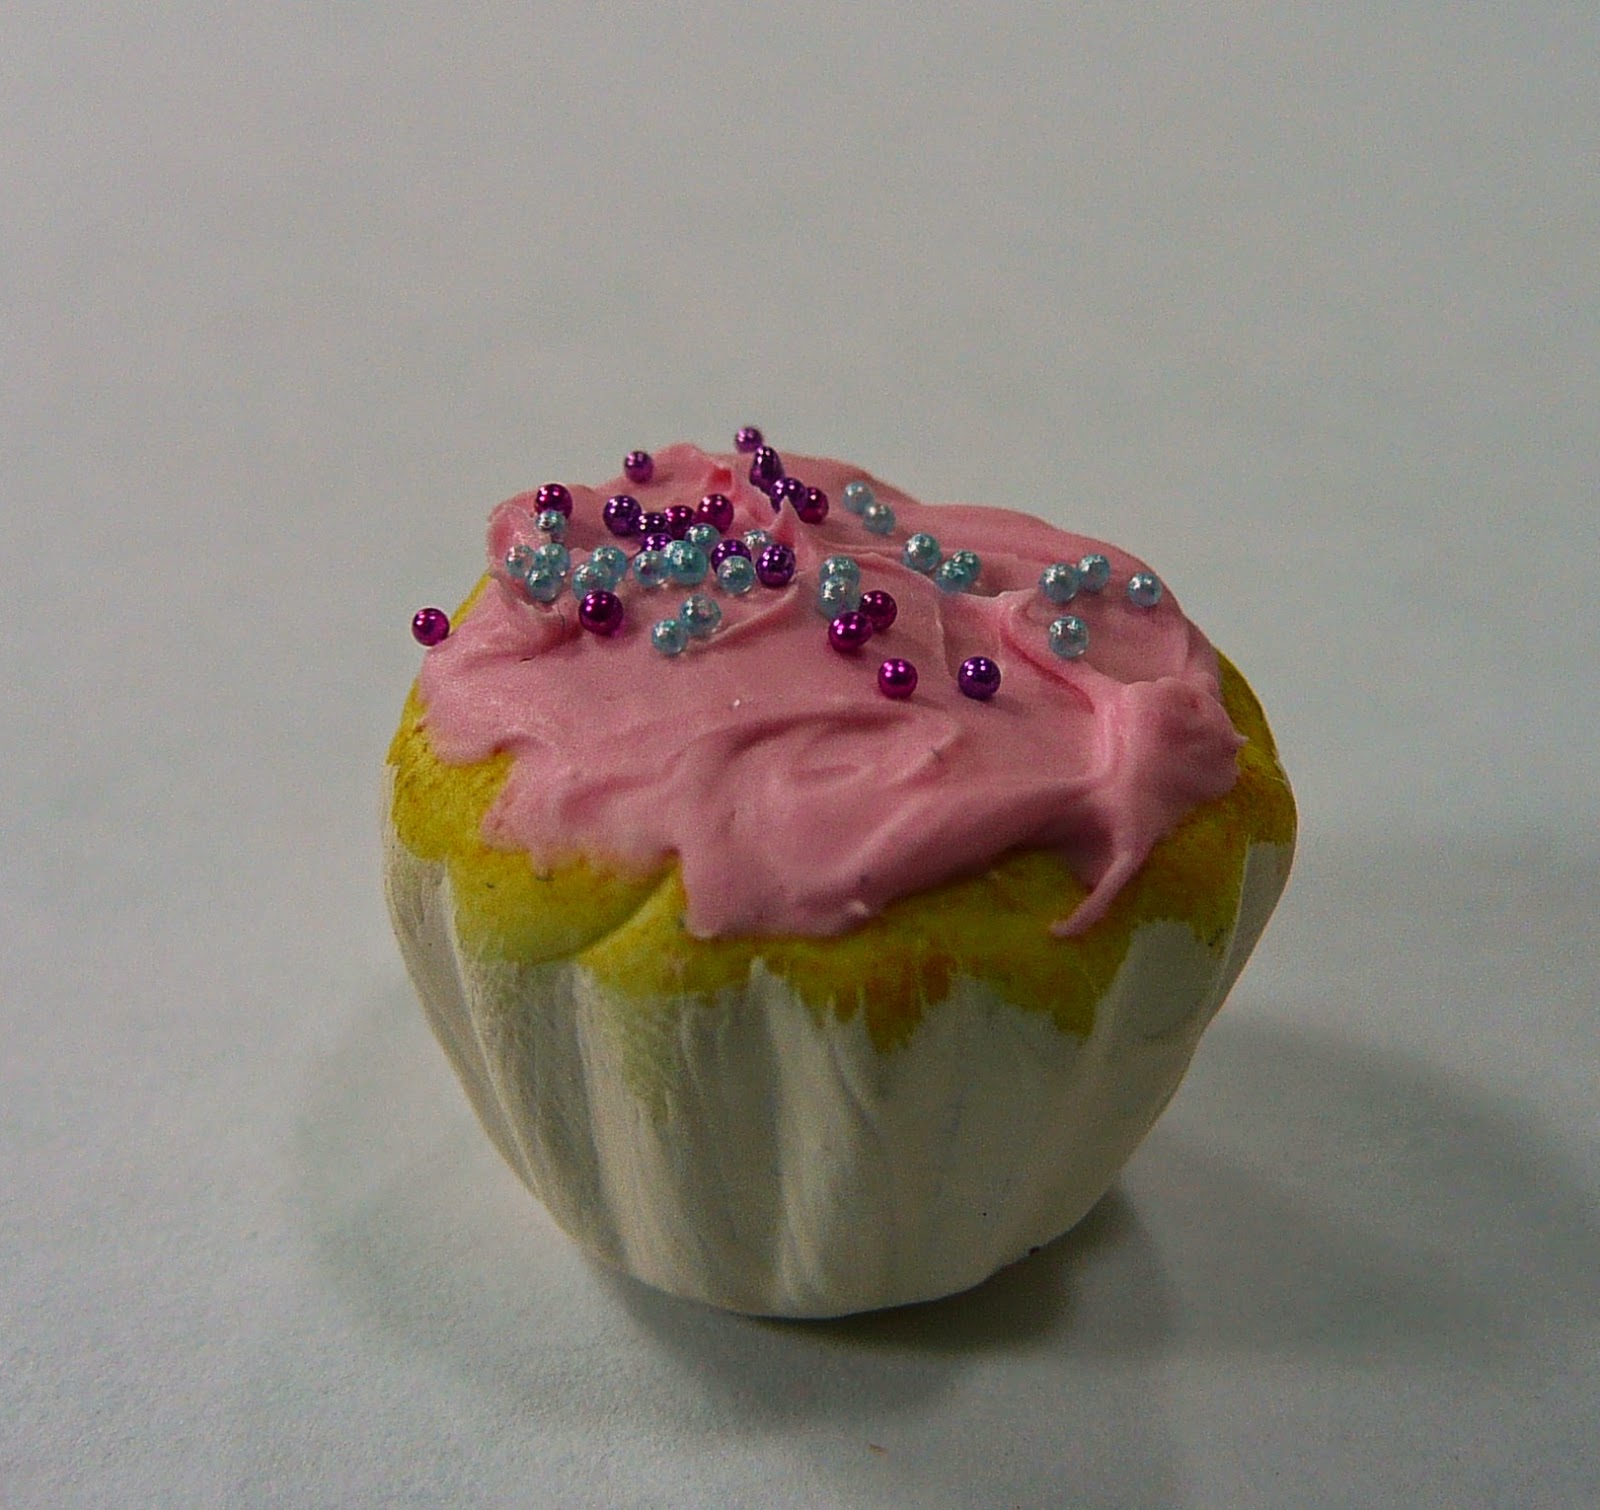 |
| pink frosting , micro beads |
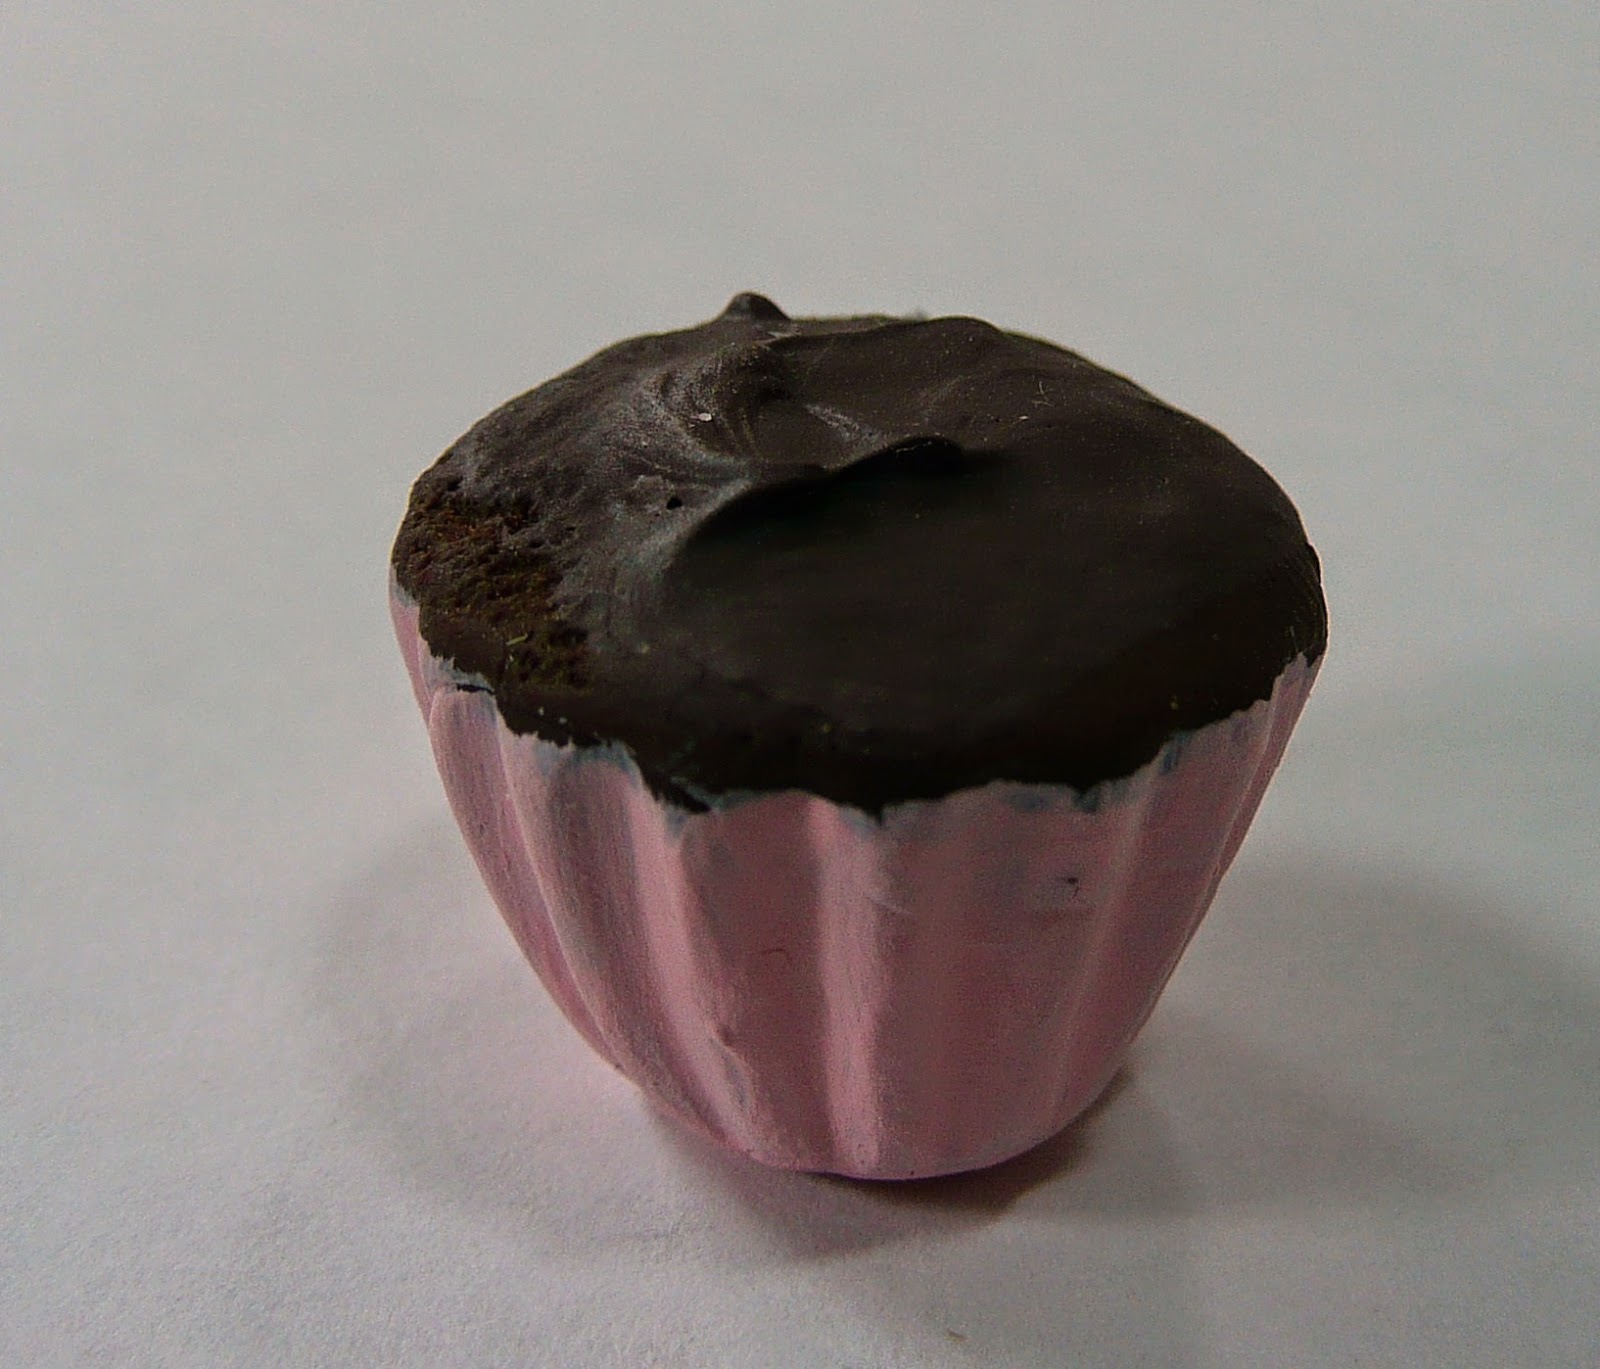 |
| chocolate frosting |
 |
| white frosting (piped with #5 tip) micro beads, paper sprinkles and red glitter |
 |
| white frosting (piped with #21 tip) paper sprinkles and white glitter |
 |
| purple frosting (piped with #5 tip) white craft sand |
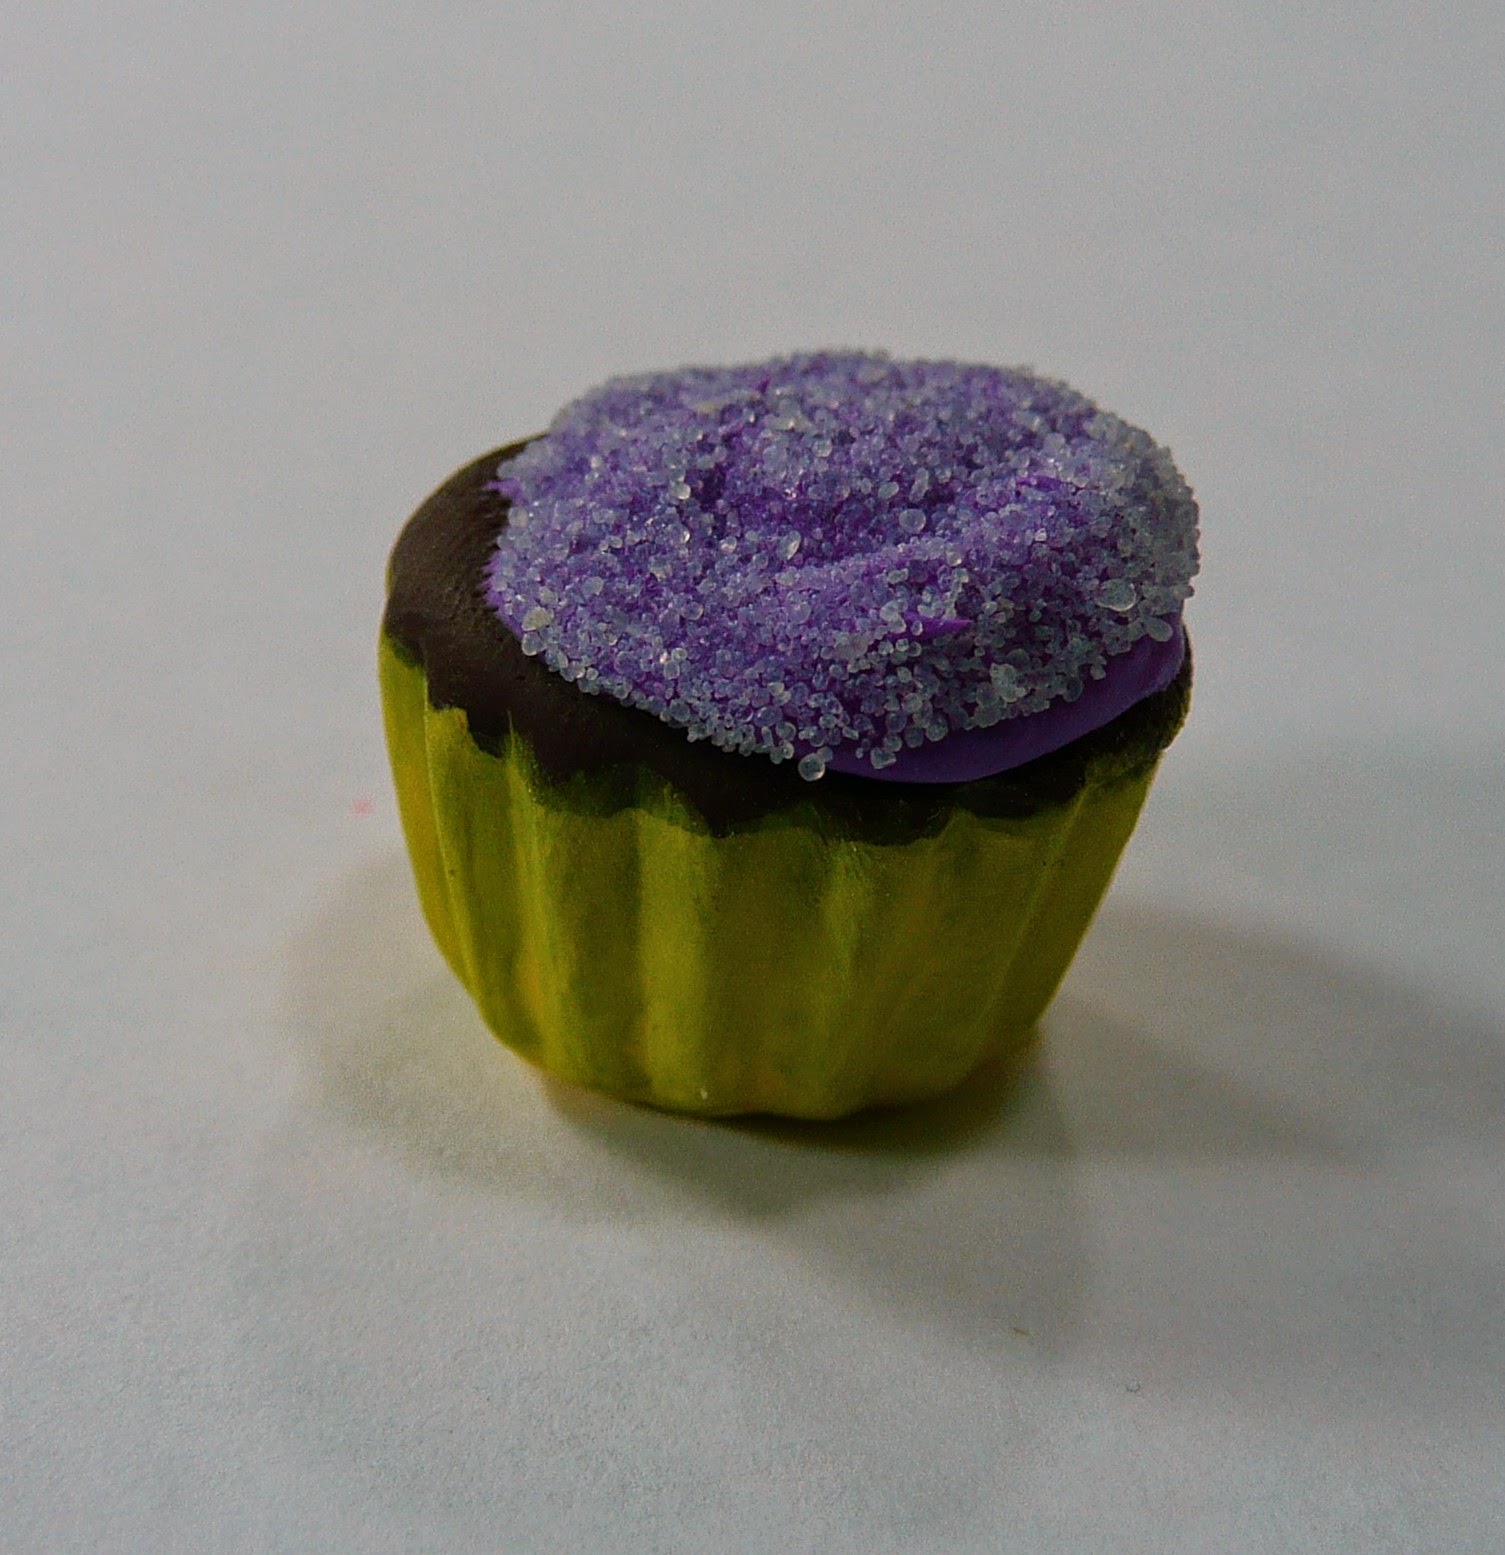 |
| purple frosting with white craft sand |
 |
| white frosting (piped with #21 tip) Christmas Red Scribbles paint, white glitter |
 |
| white frosting (piped with #21 tip) Hot Chocolate Scribbles paint, and white glitter |
 |
| pink frosting with paper sprinkles |
Also
if you buy one of these molds let Ruth know you saw the video and
blog.
Very cute!! Thanks for sharing.
ReplyDelete